
ART & TECHNOLOGY PROMOTING WIDENING PARTICIPATION & RESEARCH
Thursday, 28 November 2013
Friday, 22 November 2013
Then we moved on to using touch pad sensors!
Heres a video of my surprising success setting this up!
ENJOY WATCHING...
+Louise McGovern didn't quite get there!! next week maybe!
Heres a video of my surprising success setting this up!
ENJOY WATCHING...
+Louise McGovern didn't quite get there!! next week maybe!

Saturday, 9 November 2013

Thursday, 7 November 2013
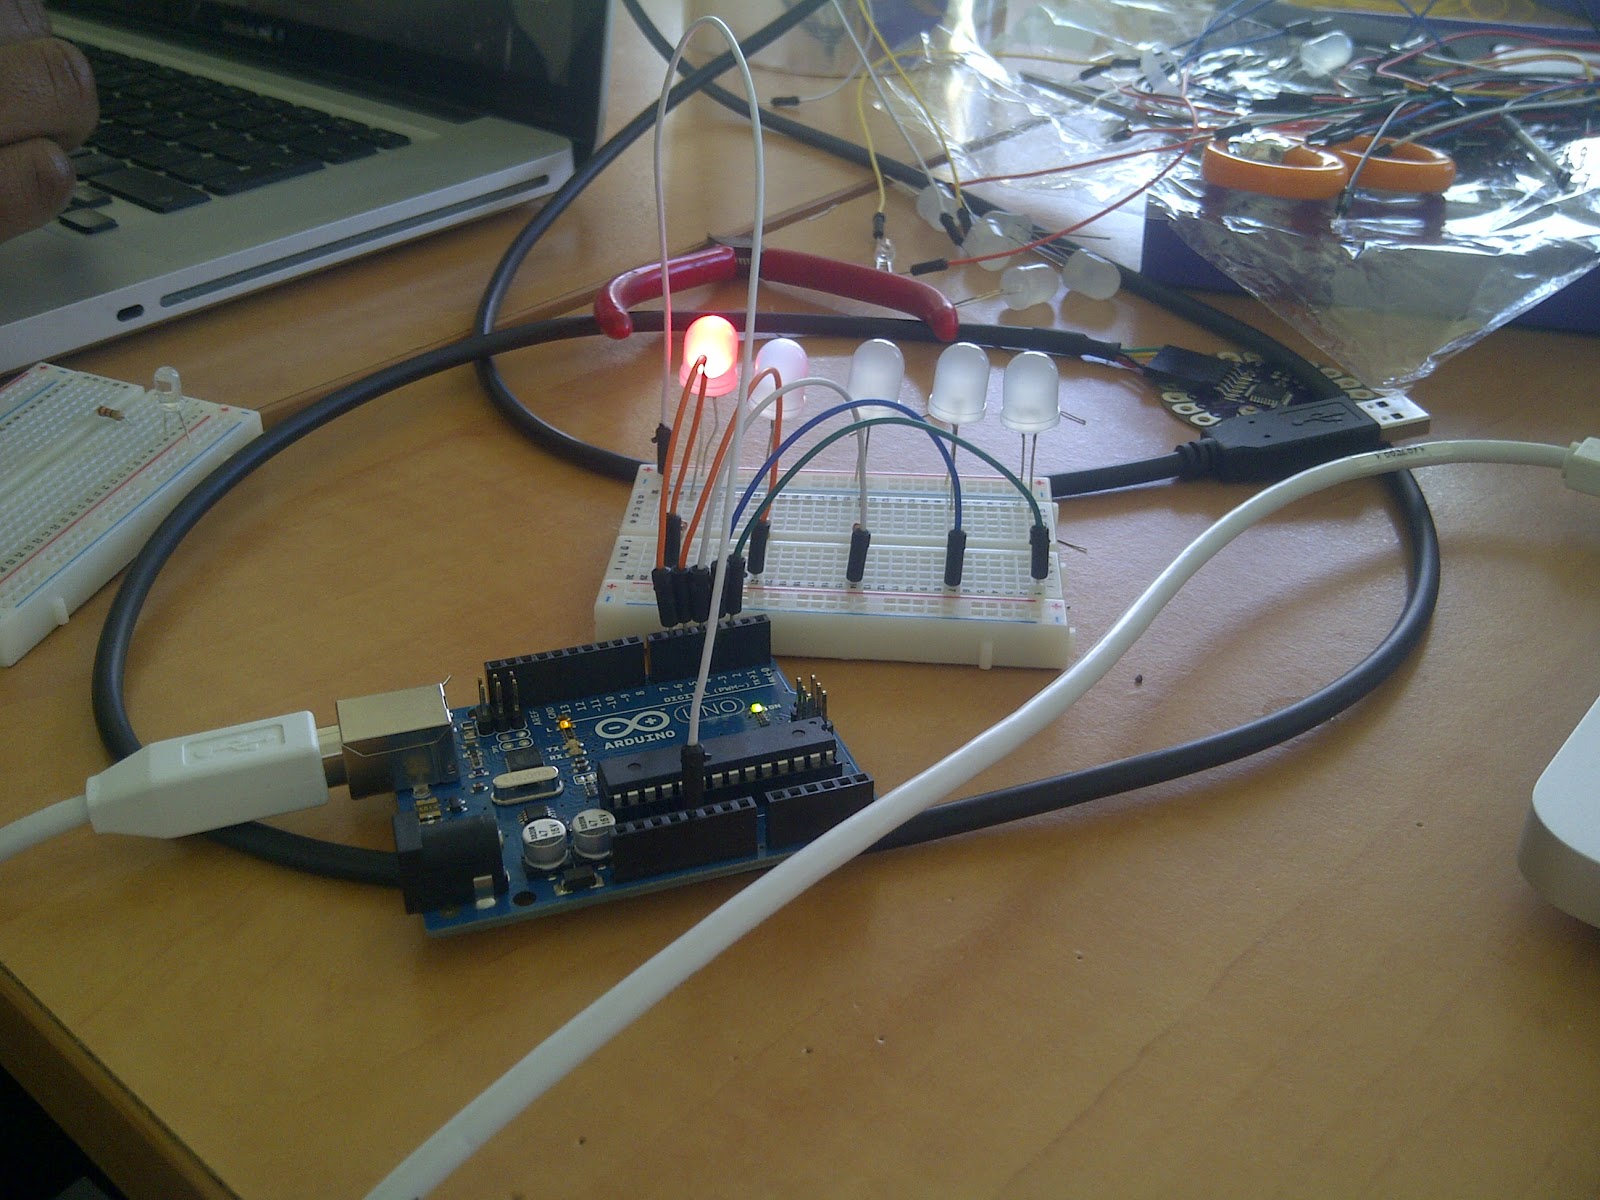
Louise trying to get the LED's working.
Some technical issues for art students... A great introduction building our Arduino UNO


Sunday, 3 November 2013
INTRODUCTION TO INTERACTIVE SCULPTURE 2013-2014
Ever wondered how artworks or installations such as Turner Prize nominee David Shrigley's Life Model 2012 pisses into a bucket or Random Internationals Rainroom work?
+E30.jpg)
Come and find out how you could make your work interact, move etc using micro controllers such as Arduino, which can be used to create kinetic, interactive artwork, in the Spring Term 2014 we will also be exploring wearable technologies.

You will need a computer, but we will be providing all electronics and discussing how to add interactivity, kinetic/animation through electronics to your artworks and ideas for future works.
The sessions will be held in the SEMINAR ROOM on Thursdays from 2pm-5
Autumn Term 2013
Subject to change
WS1
2pm
THUR
7th NOV
|
Introduction to Arduino
1. Some examples of what you can do with Arduino
(cushion, loaf, potato battery if ready)
2. Plugging in and setting up Arduino, installing the software on the laptop 3. Using the Arduino IDE and creating a first script. Compiling and uploading a script to the microcontroller. Dealing with errors (which WILL happen!) 4. Making an LED flash 5. Using the breadboard and inserting components. 6. Controlling a collection of LEDs (candle effect), changing flicker speed, etc.
If time, create the keyboard with foam.
|
WS2
2pm
THURS
21st NOV
|
Using sensors with Arduino
1. A simple switch to control Arduino. Try multiple
switches too.
2. Controlling Arduino with a light sensor. 3. Creating a simple stroke sensor with a contact mike. |
WS3 2pm
THURS
28th NOV
|
Making a squeeze sensor/touch sensors
1. Making a foam based squeeze sensor to control
Arduino.
2. Making a slide sensor (I'd like to create a group activity here to make a multi0input synth controled by lots of sensors) 3. Adding a shield to Arduino to extend the capabilities. Possibly use a wave shield here. |
WS4 2pm THURS 12th DEC |
Integrating circuits into your own artwork.
Look at the possibilities for making kinetic, interactive
sensory objects.
|
Thursday, 28 February 2013

Interactive Sculpture Workshop 3
Another session with the Arduino Uno has revealed some more interesting and simple creative methods of making electronic components. This week we made a very simple squeeze switch using Crepla (orange), Copper Fabric, and resistive plastic (embedded with carbon). The crepla creates the base upon which you (double sided) tape the copper fabric to in a strip with 1cm off one end. This is duplicated. Then sandwiching the resistive plastic in between, top and tailing the crepla pieces, the whole thing sticks together to make a switch.
 We then had the opportunity to connect various sensing components, such as a range sensor, which could potentially be used to trigger another element on the Arduino such as light. I have already experimented with this partially using the light sensitivity metre in my previous post(s). I am beginning to think that it might be worth investing in some of this equipment to ‘play’ around with for potential future projects.
After watching Kate further construct her signally glove - (a glove with LEDs in the fingers designed to illuminate when your hand is removed from the handle bars of your bike for signally left and right, incorporating a similar design of squeeze switch powered by the Lily Pad). I have become very intrigued to investigate the prospective applications of using Arduinos’ in textile applications.
Tuesday, 26 February 2013
Sunday, 24 February 2013
Responding to sound issue
Ok, so I tried to do this:http://www.instructables.com/id/How-to-Make-LEDs-Flash-to-Music-with-an-Arduino/#step1
... which tells you how to program the Arduino to respond to music/sound.
I got to step 3 and got very confused by all the files you have to download an then you have to put them into a library? (or something like that) Absolutely no idea?!
Prior to this, you are asked to plug in and download the software (Arduino - already got it). As soon as i had plugged it in just one LED illuminated and flashes randomly at different time intervals. That is all i have managed to make it do haha.
Any ideas?
Thanks
Saturday, 23 February 2013
Interactive Sculpture Workshop 2 - Arduino Uno

I really enjoyed this workshop and I have learnt a lot from it. We were introduced to the Arduino Uno, a very capable and easily programmed mini computer. Nic taught us how to use and upload the software that we had written (copied by hand) onto the chip which operated a light sequence controlling 5 LEDs. A very important element in the construction of this circuit was to make sure that you had used a resistor before the LED in order to avoid burning it out. All elements of the circuit are wired into something called a ‘breadboard’ (the white plastic block with countless connection holes). The name ‘breadboard’ came from the original people who began to design electronics like this, pinning the wires and connections onto a breadboard. The whole idea behind the Arduino was to make a simple and easy to use prototyping platform for artists, designers, inventors and anyone interested in creating interactive objects or environments.
 Once programmed and uploaded with the running file the Arduino can then be unplugged and run completely independently from an external power source. Lastly Nic showed us how to make a touch sensitive keyboard (musical) using a midi connector and program similar to GarageBand along with many more resistors and wiring. The keys work from the small amount of electro-magnetic energy that our bodies release, by touching the key we are in a sense completing a circuit and allowing the program to produce a note or sound. Pretty damn cool!
 I felt very inspired by this and i want to try and incorporate an element of light-to-sound sensitivity in my own work. I have several sculptures that could have an Arduino and lighting system implanted inside of them to react to sounds as they are broadcast. I am wondering if it would be possible to program an Arduino to respond to a particular range of sounds or notes. Then through a set sound track different Arduino circuits could respond at different points of the track depending on the sound produced. I need to explore these further.
Friday, 15 February 2013
Interactive Sculpture Workshop
This second session involved using small computers that can be programmed to control all sorts of things. The Arduino so it’s called can be programmed relatively easily and the possibilities of what it can do seem endless with a creative mind. The photo above is a flickering candle light show that I was able to program the Arduino to do. We then moved onto touch sensors and using a more advanced program (Random) we collectively made a touch sensitive keyboard using pieces of foam. However; in essence we could have used anything as long as we covered it in conductive material.
With this new knowledge and some equipment I am free to experiement with the software until the next session!
Tuesday, 12 February 2013

Interactive Sculpture (Week 1)
First step of Interactive Sculpture workshop was to go back in time to GCSE physics and play with circuits again. This time with more practical ideas of how to use them and we were introduced to some simple sensors, motors, bulbs and switches that could be used along with some conductive play doh to make circuits small enough to conceal inside objects.
The ideas ran at 100 miles an hour of how to use this new technology and for next time we have been asked to download the software for a small Arduino device that can be used to program actions.
Very practical and exciting.
Saturday, 2 February 2013
Introduction to Interactive Sculpture Workshops
Nic
Hollinworth (Systems Engineering) and Kate Allen (Art) University of Reading
A short series of
practical workshops exploring electronics, circuits and other materials.
Discuss your ideas for interactive artworks


We meet at the University of Reading Art Dept in the Common Room
Thursday 31st January 2pm, Squishy Circuits and Interactive
Objects
Thursday 14th February 2pm, Arduino and Shape Memory Metal
Thursday 28th February 2pm, Interactive Sculpture
Tutorials
Thursday 7th March 2pm, Interactive Sculpture Exhibition
The workshops are open to Part
Two, Three and Finalists and MA students.
Limited to
12 students
A Digitally
Ready for the Future Small Project 2013
Centre for the Development of
Teaching and Learning UoR
Background
Interactive sensory objects
made by and for people with learning disabilities www.sensoryobjects.com is a three year AHRC funded
research project which explores the potential of newly developed easy-to-use
electronics in making the experience of members of the user-group more
vital and meaningful when accessing heritage sites. The project consists of a
series of workshops that are fundamentally experimental and exploratory in character. We would like to share some of
our research with students from the art dept giving them a series of practical
hands-on workshops as an introduction to interactive and digitally-enhanced sculpture/installation.
Aim
The
aim is to introduce art students to the potential of using interactive
technologies in sculpture and installation, and to enhance artworks and installations with the potential to
make them responsive to people or the environment.
Objectives
To
hold introductory workshops in the art dept for students led by Nic Hollinworth,
which are experimental and exploratory in character. Students will design and
develop multisensory interactive objects using sensors and rapid prototyping
electronic Arduino boards to activate a particular webpage, video, sound, smell
or movement, that act as triggers to information, thus augmenting reality for
the user.
Scope
Through
a series of hands-on workshops led by Nic Hollinworth working with the art dept,
we will introduce students to simple electronics using ‘squishy circuits’ to
activate light, sounds or movement.
Subscribe to:
Posts (Atom)